Specifying BIPV: a practical checklist for architects
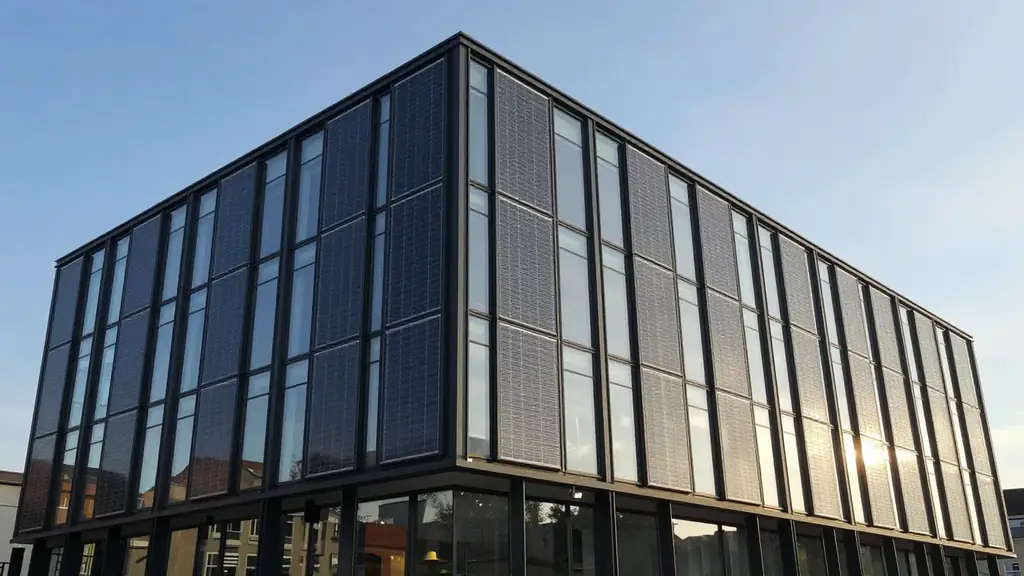
BIPV is easier to specify well than to rescue late, because a building-integrated photovoltaic product does two jobs. It is a construction product and an electrical generator. It must keep the weather out, resist fire and carry its loads, yet it must also deliver power.
This checklist walks through the questions we put to suppliers on UK projects. If you need a primer first, read what is BIPV.
1. Decide what the PV is replacing
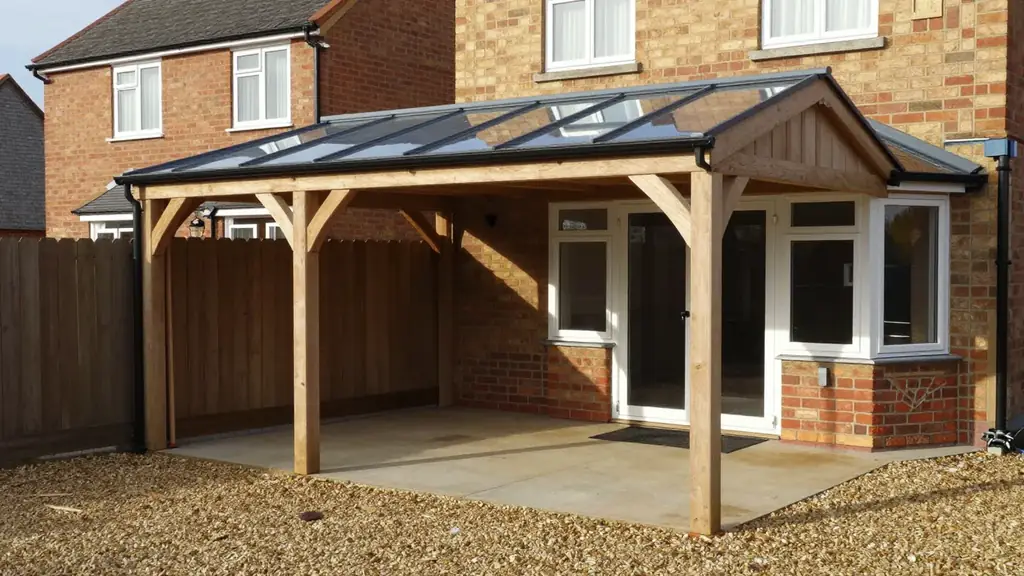
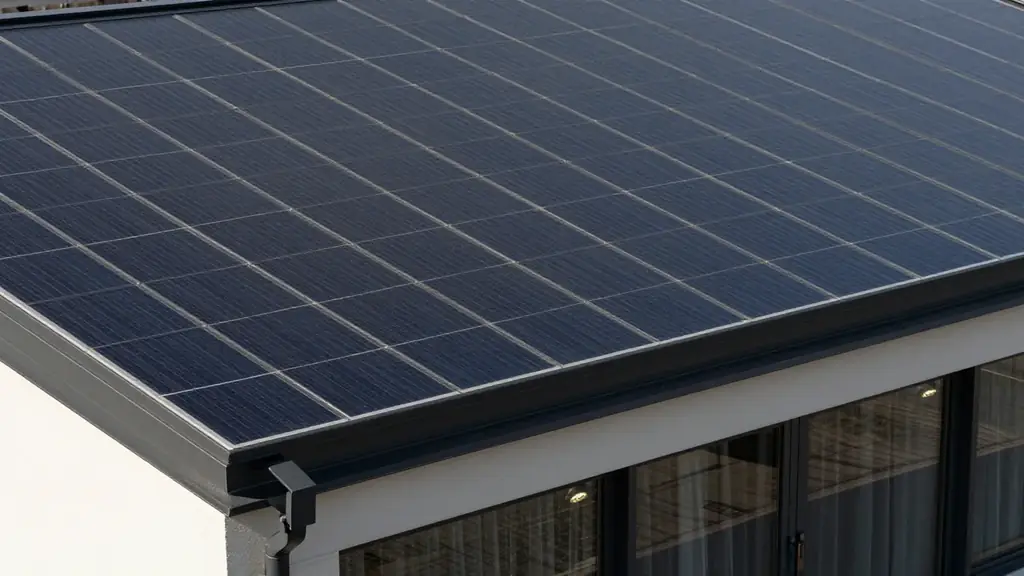
Start with the role of the module in the envelope. It may be the roof covering, a glazed roof, a rainscreen or a canopy. Each role brings different performance needs and a different supplier shortlist.
For this reason, write the role into the brief before you name a product. A module that replaces a roof covering must keep water out. Meanwhile, a module in a canopy must also be safe overhead.
Our guide to designing solar into a self-build from the first sketch shows how this works at concept stage. Our building-integrated PV service applies the same thinking, while larger commissions add more coordination.
2. Check the standard and the product marking
The relevant European standard is EN 50583. Part 1 covers BIPV modules that contain at least one glass pane and serve as construction products. It tests the properties that matter for building needs, and the electrical rules of the Low Voltage Directive. As a result, the CE mark of such a module reflects both.
The standard does not address building-attached modules. However, Part 2 covers BIPV systems, including separable mounting structures. So ask which part the supplier assessed the product against, and what mounting structure they tested it with.
In practice, you want a declaration of performance and the test reports behind it. Ask which marking route applies in the project’s location. Never accept a brochure claim in place of the evidence.
3. Ask for fire evidence early
Fire is the most important live issue in roof-integrated PV. Because solar products can form the roof covering, you need a fire classification to show compliance with Regulation B4 on external fire spread. MCS reports that this means BROOF(t4), tested to CEN/TS 1187 and classified under BS EN 13501-5.
In October 2024, MCS also reported that new products could not obtain a classification that allows roof integration. It linked this to BS EN 15725:2023, which removed expert opinion as a way to extend test results to modules. Therefore, check whether your chosen product already holds its classification.
In December 2025 the government published research from 11 large-scale tests on pitched roofs with solar panels. Integrated systems showed greater flame spread than mounted ones. Wooden battens and plastic trays added fuel, and the cavity made fires harder to put out. The report says further guidance may be needed. As a result, discuss the detail with your building control body before you fix the design.
Historic England also recommends a PV fire risk assessment. That advice is a useful prompt on any project, yet many teams skip it.
4. Test the orientation and the shading
Position decides output. Historic England advises placing an array ideally on a south-east to south-west facing roof. East-west layouts on flat roofs can give a smoother generation profile through the day, because they spread output across the morning and afternoon.
Shading deserves a line of its own in the specification. The same guidance warns that one shaded panel can cut the power of the rest of its string. Therefore, model the chimneys, trees, parapets and neighbours, and group modules with similar exposure.
Remember that integrated modules sit in the plane of the roof, so you cannot tilt them towards the sun. Set the roof pitch and orientation first, then test what the roof can deliver. Our guide to in-roof solar mounting systems compared explains how the main systems handle pitch and flashing.
5. Get the interface details on paper
The edges are where integrated systems succeed or fail. Ask for drawings of the head, sill, jambs, valleys and hips, and of every junction with other roofing, glazing or cladding. Check how each detail drains, and what happens when water gets past the first line, since that is where leaks start.
Ask for the fixing method and the loads the array puts on the structure. Historic England gives similar advice to owners: get drawings of the array, the inverter positions and the fixings. If a quote does not mention an item, assume it is not included.
If the building has a lightning protection system, the engineer should check whether the array frame needs to connect to it. Add that to the coordination list, because it is easy to miss.
6. Plan maintenance, replacement and removal
Modules can last more than 25 years, so a building may carry more than one array in its life. Specify how you replace a single module, who can reach it and what stock the supplier will hold. A roof that you cannot repair without stripping a whole zone is a poor specification.
Also record the end-of-life route. Historic England asks owners to think about reversibility, and the same principle suits new buildings. Plan for the day the array comes off, since that day will arrive.
7. Settle the consent route
New buildings need planning permission, and the PV is part of that application. Existing buildings vary more. In England, solar on a listed dwellinghouse falls outside the permitted development class, so listed building consent is the route.
Heritage settings add design scrutiny, while each council reads policy its own way. For example, solar design for London’s conservation areas shows how we prepare an application. Similarly, solar design for Edinburgh’s historic streets does the same under Scottish rules.
When the roof is not the right place, other structures can carry the glass. Our guide to solar canopies, carports and garden rooms for homes covers one route. Ground-mounted and outbuilding solar for listed homes covers another. If the roof is slate, read fitting solar to a natural slate roof without spoiling it.
For a view of the tile and slate formats, see our guide to solar roof tiles in the UK.
8. The documents to ask for
Before you sign off a product, collect the following:
- the declaration of performance and the electrical certificates
- the fire test report for the exact build-up
- junction and flashing drawings
- structural loading data and fixing details
- shading and yield modelling for the actual site
- maintenance, replacement and removal instructions
Keep this pack with the building file. It helps the next owner, and the next designer, because nobody has to guess.
Work with us on the specification
We help architects choose and detail BIPV before the drawings are fixed. Our bespoke solar design service turns the checklist into project drawings. To start, send us your drawings with the roof plan, the elevations and your target performance.